Welcome to Your Katika E-Commerce Store
Before you start adding products, it’s important to configure your store settings. Follow the instructions below to set up your website. Navigate to Settings, which is the last option in the left-side store menu.
Store Settings
In the Store Settings, you can upload your logos and favicon:
- Dark Logo: Upload your dark-themed logo. Recommended size: 200×75 px. You can use Canva to create a logo with these dimensions.
- Light Logo: Upload your light-themed logo. Recommended size: 200×75 px.
- Favicon: Upload your website’s favicon (the small icon that appears in browser tabs).
You can also configure the following store information:
- Store Name: Enter the name of your store.
- Contact No.: Enter your store’s phone number (optional).
- Email Address: Enter your store’s email address.
- Address: If you have a physical location, enter your street address and postal code.
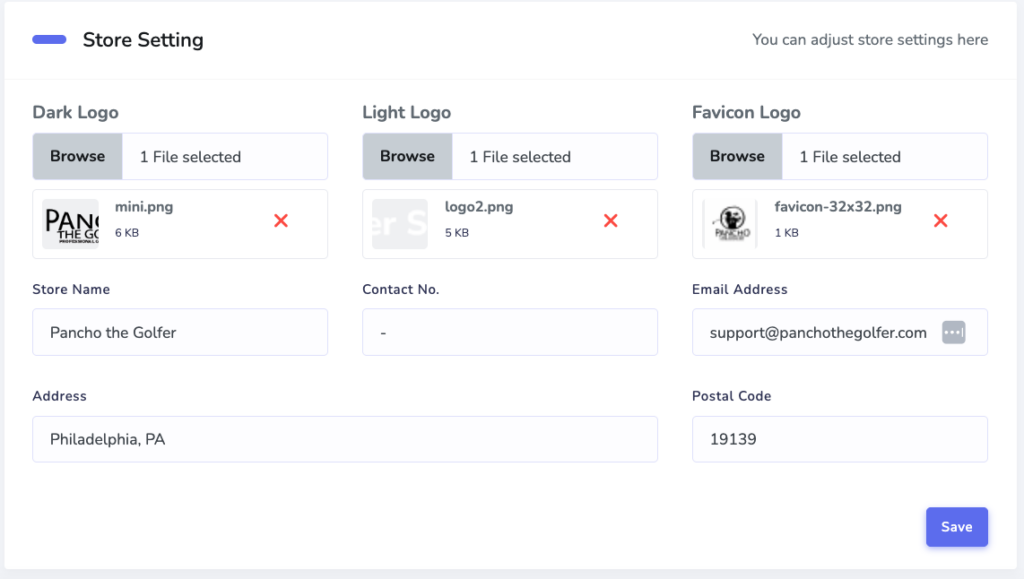
*Remember to click Save after entering your information.
General Settings
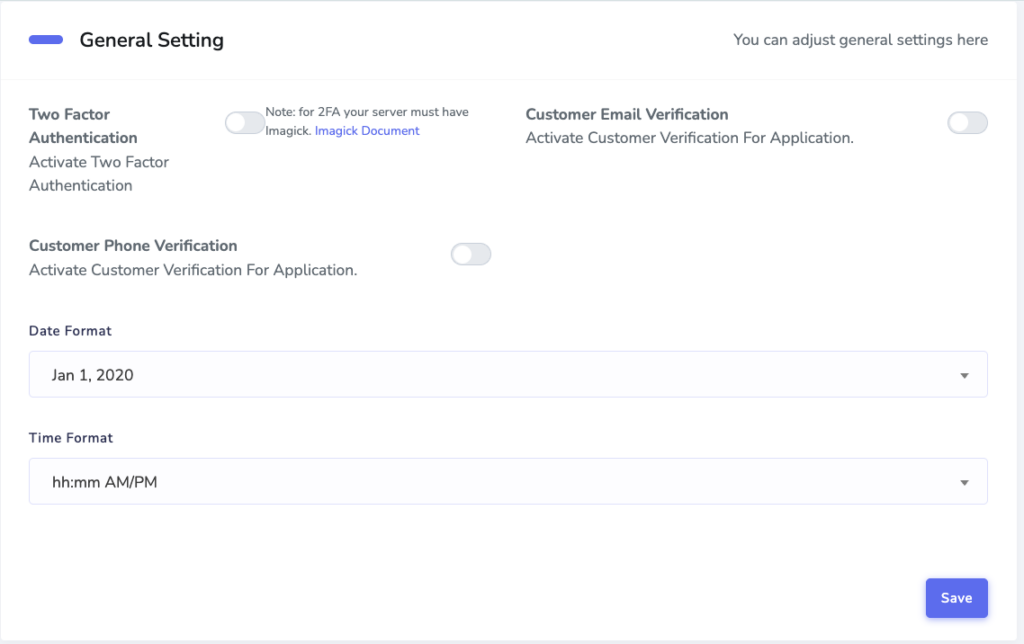
In this section, you can configure security and customer account verification options:
- Two-Factor Authentication: Enable this option to add an extra layer of security when logging into your store.
- Customer Email Verification: Turn on this feature to require customers to verify their email address to activate their accounts.
- Customer Phone Verification: Enable this feature to allow customers to activate their accounts via phone number verification.
You can also update the default date and time formats if needed.
Email Settings
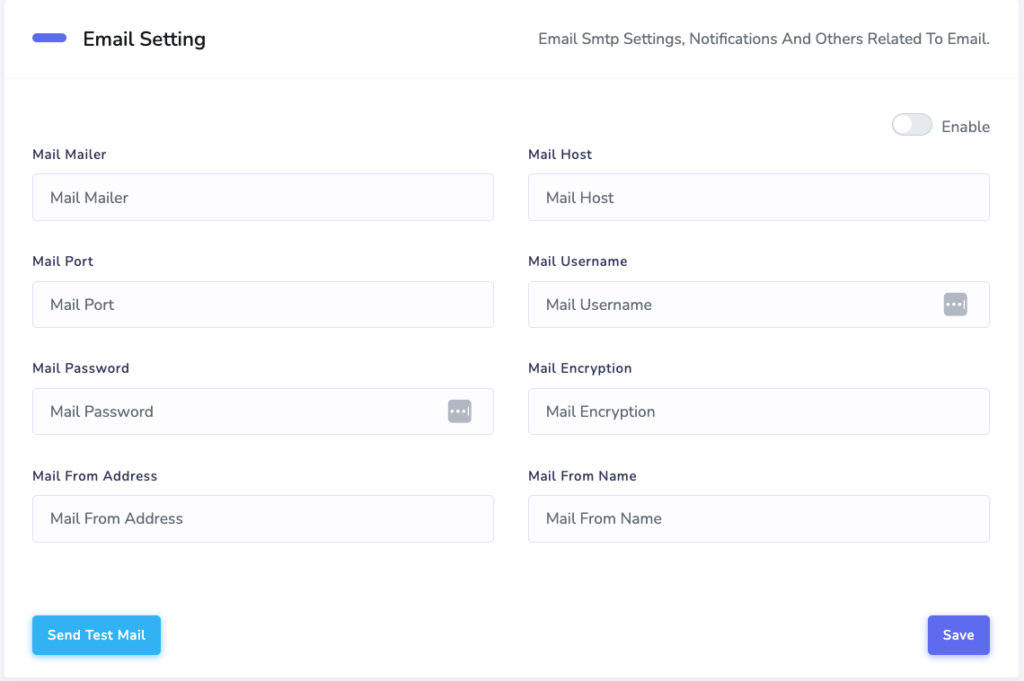
Connect your business email address to your store to enable automatic order updates to be sent to customers. Fill in the following fields to connect your email address via SMTP:
- Mail Mailer: The name of your mailing service (e.g., Microsoft, Gmail).
- Mail Host: The hostname of your mail server (e.g.,
mail.gmail.com). - Mail Port: Enter the SMTP port number.
- Mail Username: Your email address username.
- Mail Password: Your email address password.
- Mail Encryption: Select either
tlsorsslfor your email encryption. - Mail From Address: The email address that will be displayed as the sender.
- Mail From Name: The name that will be displayed as the sender.
SEO Settings
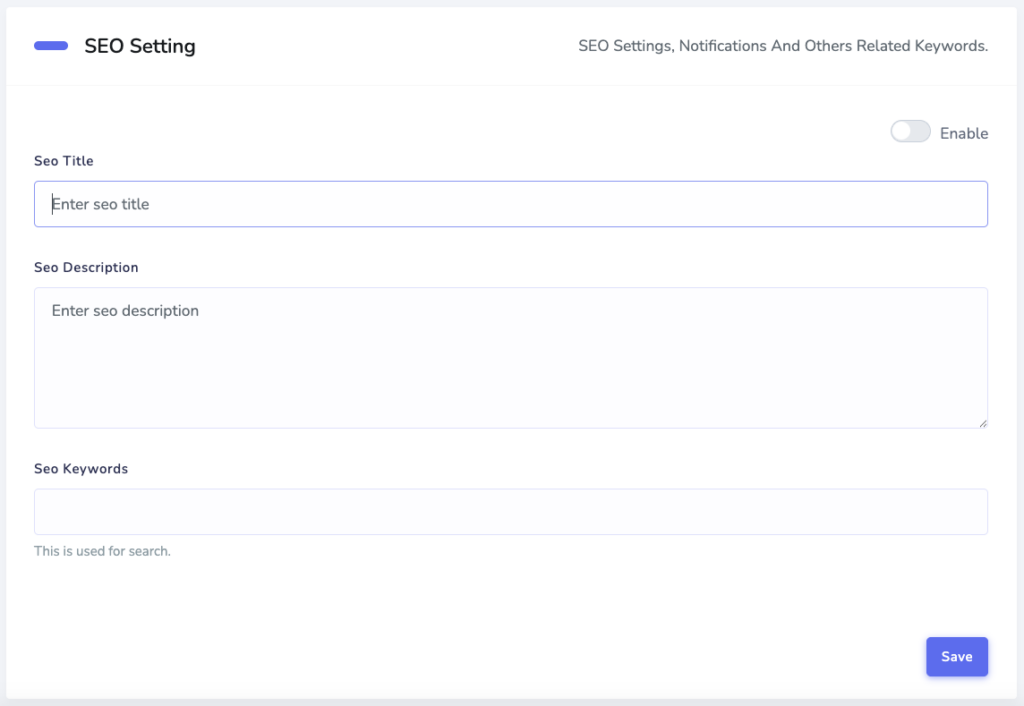
Improve your website’s visibility on search engines like Google and Bing by filling out your business’s SEO information.
- Enable SEO: Make sure this tab is enabled.
- Title: Enter the title of your website.
- SEO Description: Provide a brief description of your website’s content.
- SEO Keywords: Enter relevant keywords that people might use to search for your website.
Shipping Settings
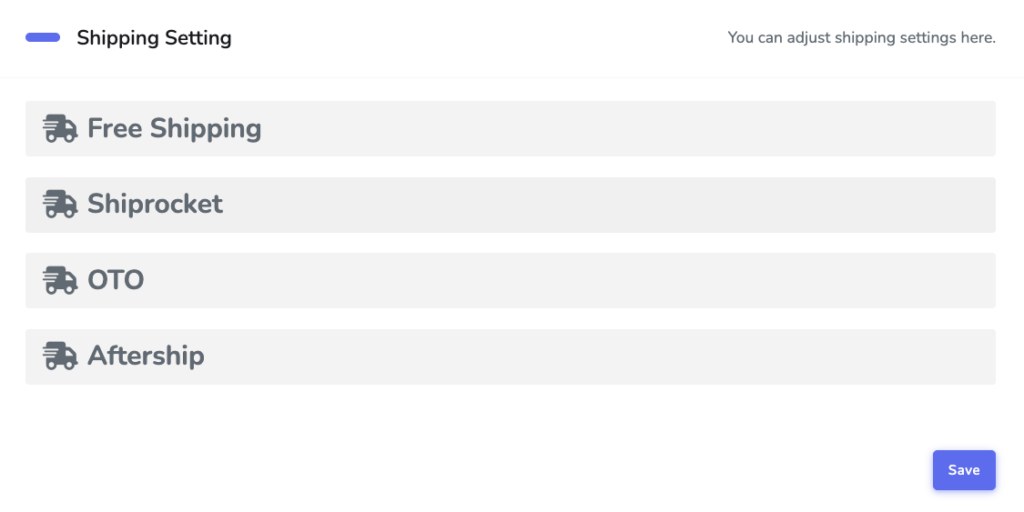
You can integrate a third-party application to manage and print your shipping orders.
- AfterShip: For U.S. users, we recommend using AfterShip.
- Disable Shipping Integration: Alternatively, you can leave this feature disabled and use your own shipping methods.
Payment Settings
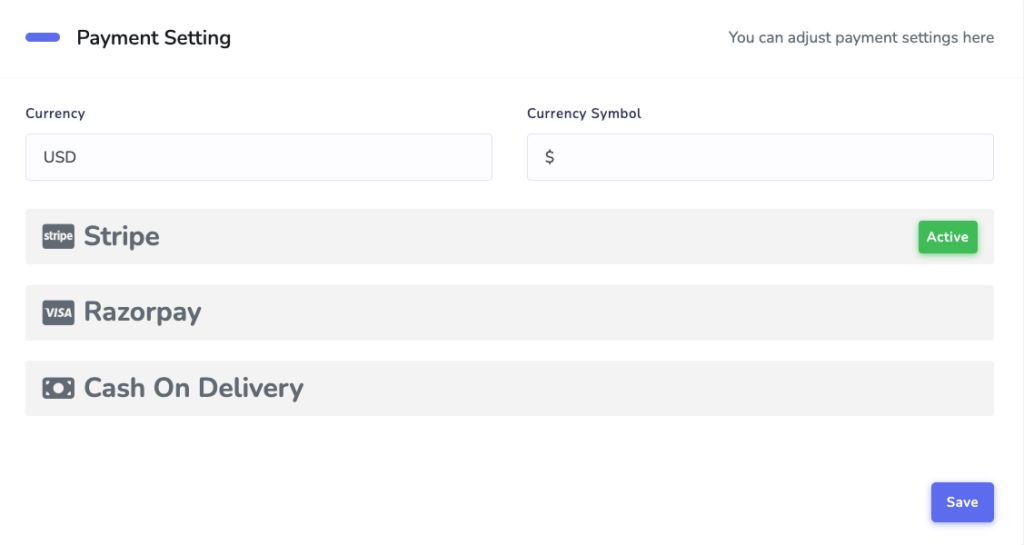
Configure your store’s currency and connect your payment gateway.
- Currency: For U.S. users, enter
USD. - Currency Symbol: For U.S. users, enter
$. - Stripe: We recommend connecting your Stripe account to your platform. You can find your Stripe Key and Stripe Secret by visiting Stripe.com.
Site Map Settings
Generate and view your website’s sitemap. This helps search engines index your website more effectively.

Website Setup
Themes
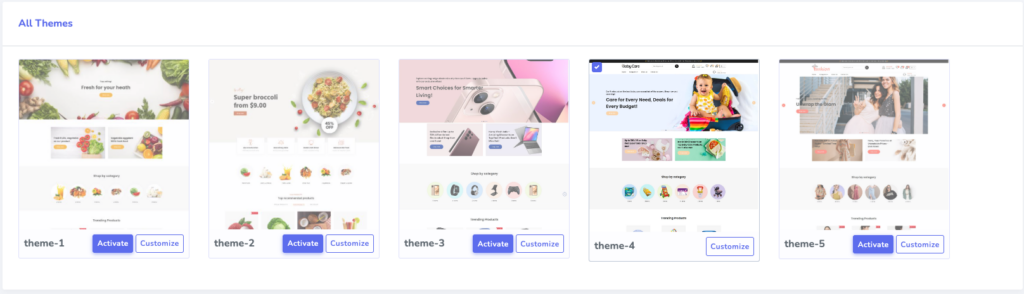
The first step in customizing your website is selecting a theme. You can customize any of the available themes. Your website comes with 5 default theme templates.
Caution: If you change themes after adding content, your content will be erased. Proceed with caution when switching themes.
Pages
Your store includes 5 default pages that you can edit:
- Terms and Conditions
- Return Policy
- Refund Policy
- Privacy Policy
- About Us
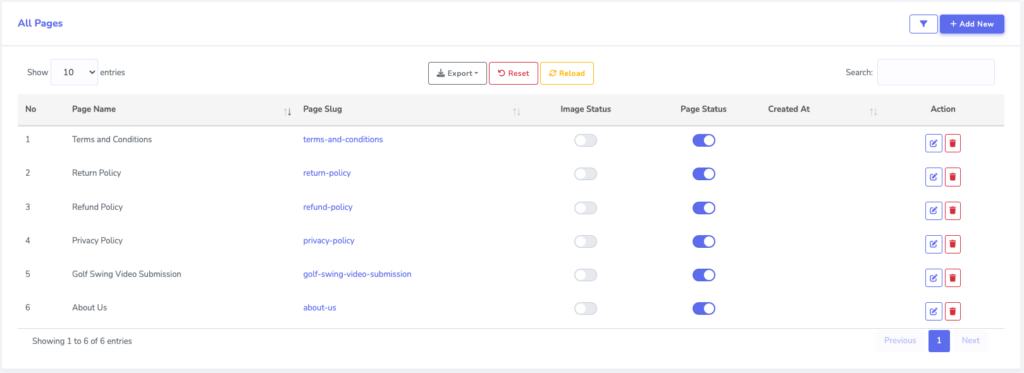
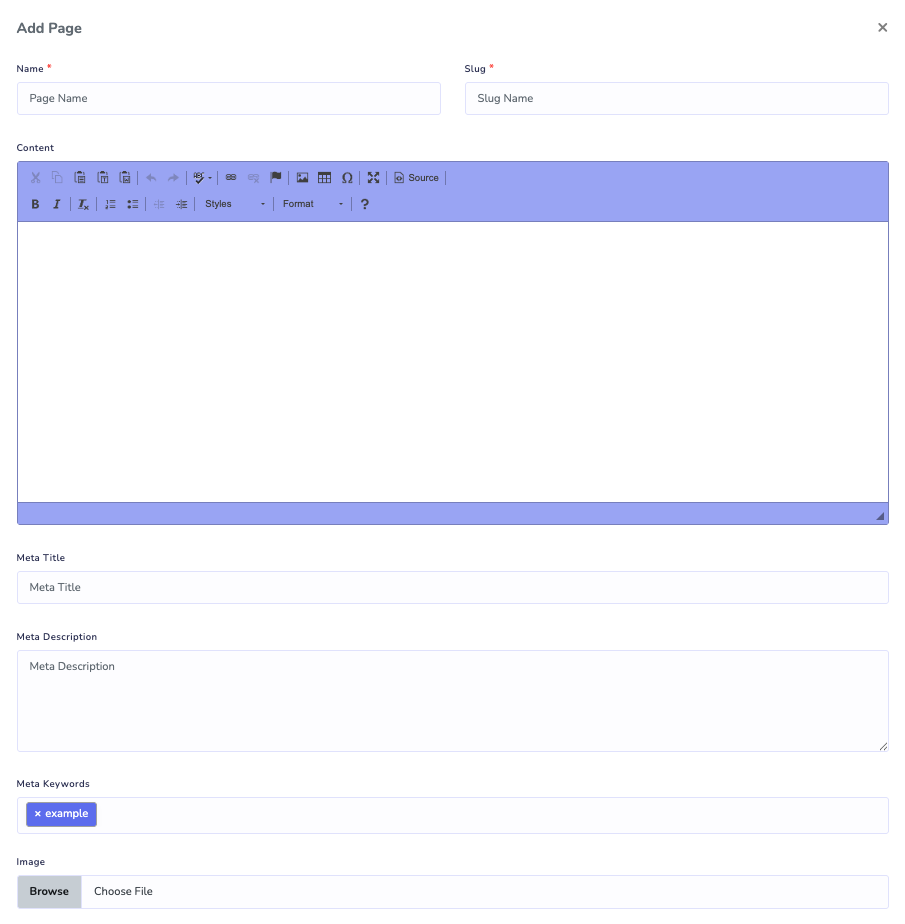
You can also add custom pages to your website:
- Name your page.
- Enter your page content in the Content box.
- Optionally, select Source to enter HTML code directly into your page.
For each page, be sure to fill out the following for SEO purposes:
- Meta Title
- Meta Description
- Meta Keywords
FAQs
Provide helpful information to your site visitors by adding frequently asked questions to your store.
- Enter the Question.
- Provide the Answer.
- You can order the FAQs by entering a number in the Order field.

Menu (Navigation)
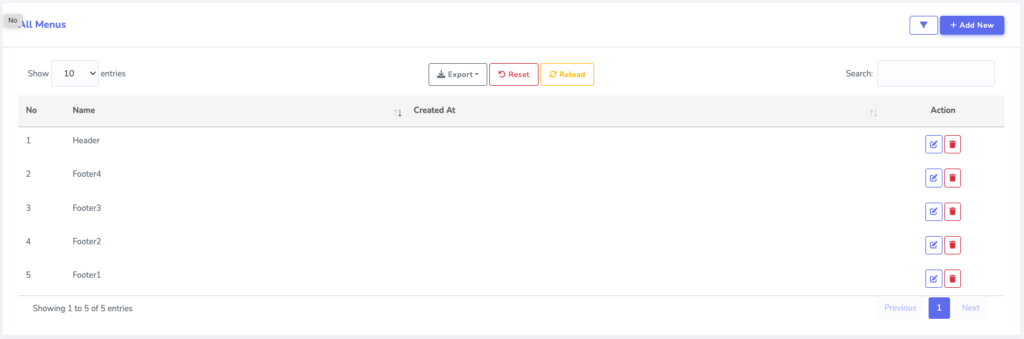
In the Menus area, you can update the links in the Header and edit the content in the Footer area of your website’s navigation.
You can add the following directly to your website navigation:
- Pages
- Custom Links
- Categories
Themes > Customize
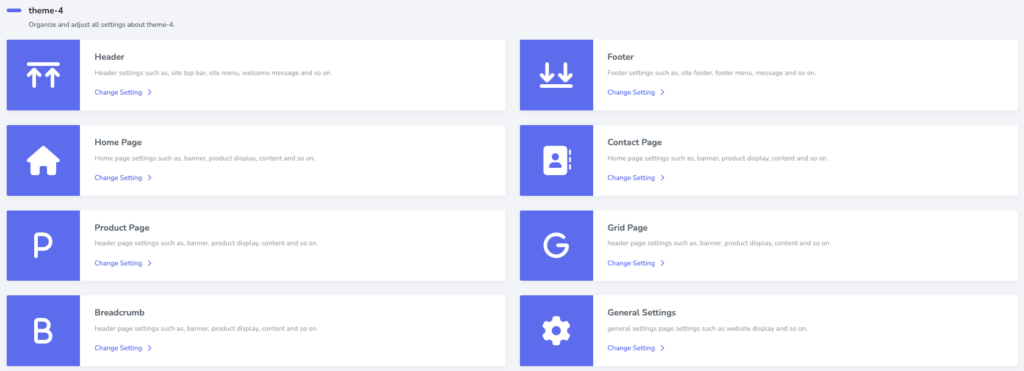
After selecting Customize, you will see 8 sections:
- Header
- Home Page
- Product Page
- Breadcrumb
- Footer
- Contact Page
- Grid Page
- General Settings
Header
- Top Bar: This area appears above the main navigation at the top of your website.
- Enter text to display in the top bar.
- Change the background color of the top bar.
- In Template 4, you can align your logo within the top bar.
- Menu Bar:
- Set your website’s default language.
- Select the menu you want to display in the header.
- Contact Bar:
- Update the Contact Icon.
- Enter Contact Text.
- Enter a Contact Number.
Footer
- Service: You can display icons and a title for the service area of your footer.
- Footer Top: Customize the top section of your footer by setting titles and linking to your categories and pages.
- Footer Bottom:
- Update the Copyright text.
- Enter your social media links in the provided fields.
Home Page
Themes > Customize > Home Page
This section allows you to customize the content and appearance of your website’s home page.
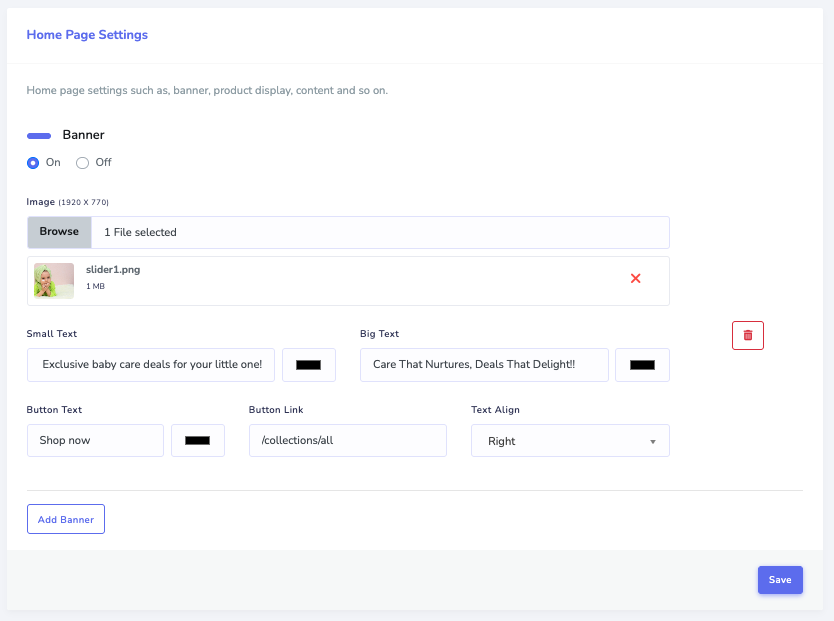
Banner
There are 3 default banner placeholders which you can delete or replace. To add your own banner image:
- Upload a JPG or PNG file with dimensions of 1920 x 770 pixels.
- You can overlay text on the banner image and customize its color.
- The text color can be changed here, and you can link the banner to any page on your site.
- The button color is controlled by the theme color setting in the General Settings area.
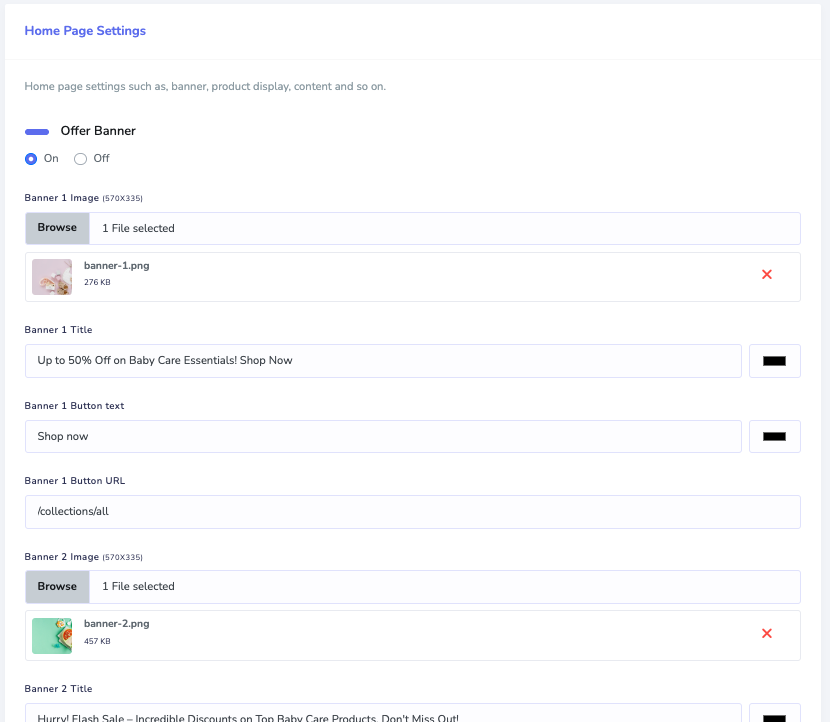
Offer Banner
The Offer Banner section displays two images to highlight a product or service at the top of your page.
- Image dimensions: 570 x 335 pixels each.
- You can customize the banner text, button text, and the URL the button links to.
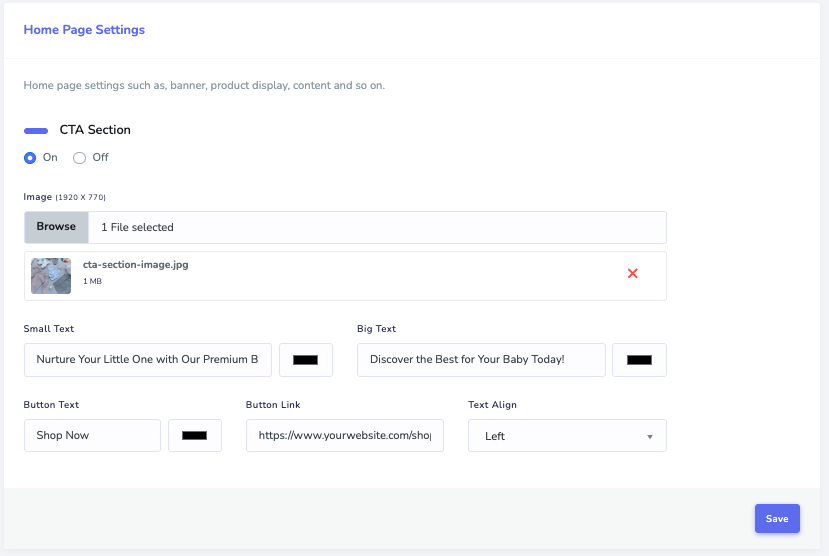
CTA Section (Call to Action)
The Call to Action section allows you to place a prominent banner to encourage specific actions from your visitors.
- Banner image dimensions: 1920 x 770 pixels.
- You can add large and small text, a button, and an optional URL for the button.
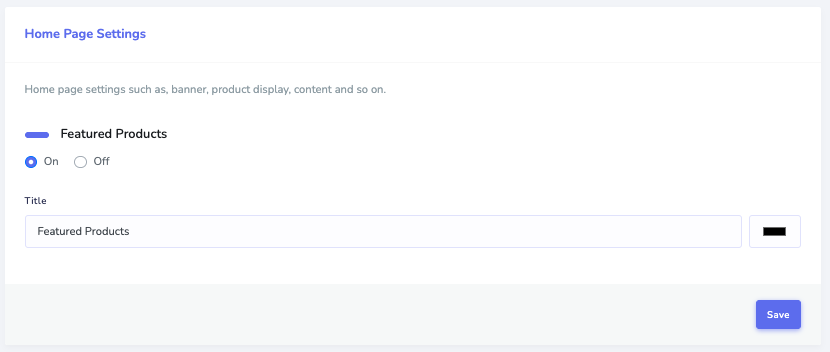
Featured Products
The Featured Products displayed here are based on the items you’ve marked as “Featured” on the Products page.
- You can update the title and text color of this section.
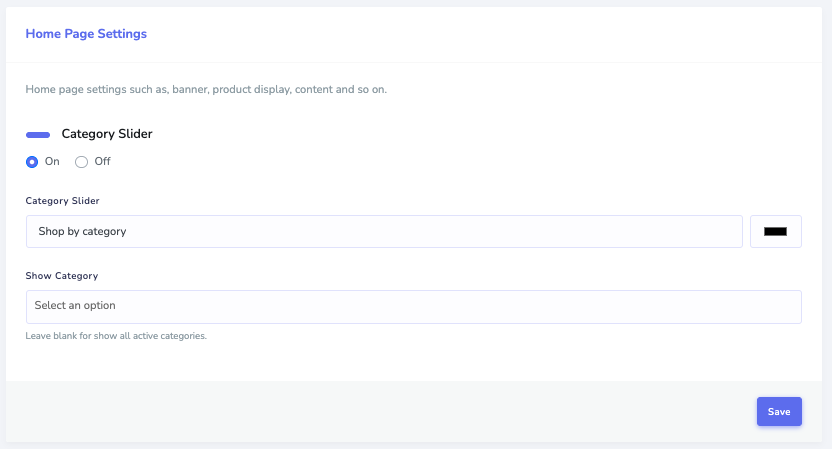
Category Slider
In this section, your website visitors can see the images you’ve selected for the different product categories in your store.
- You can update the heading text for the category slider.
- Category names and images are managed in the Products dropdown menu.
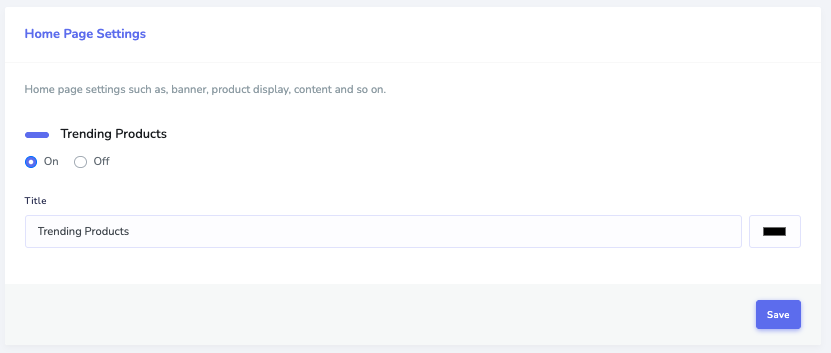
Trending Products
This section automatically displays the best-selling items on your website.
- You can update the title of this section.
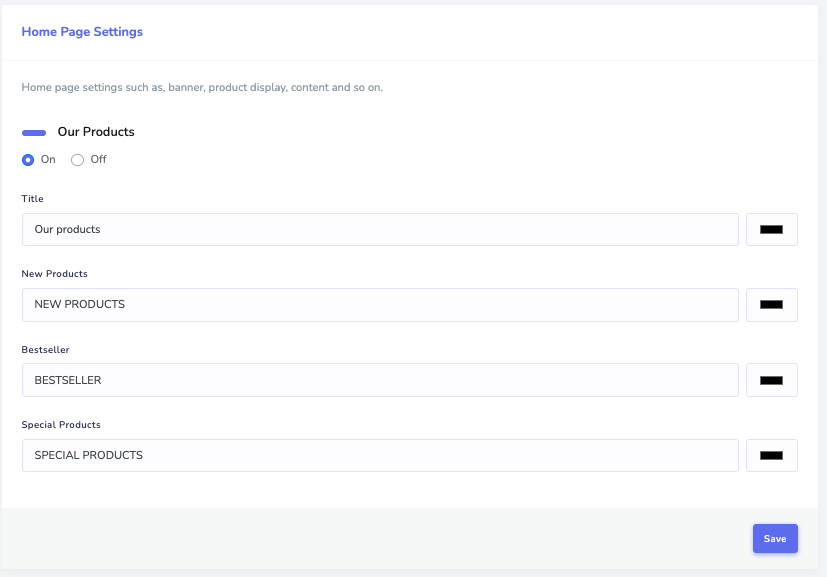
Our Products
Products are automatically displayed in this section based on your best-selling and newest uploaded products.
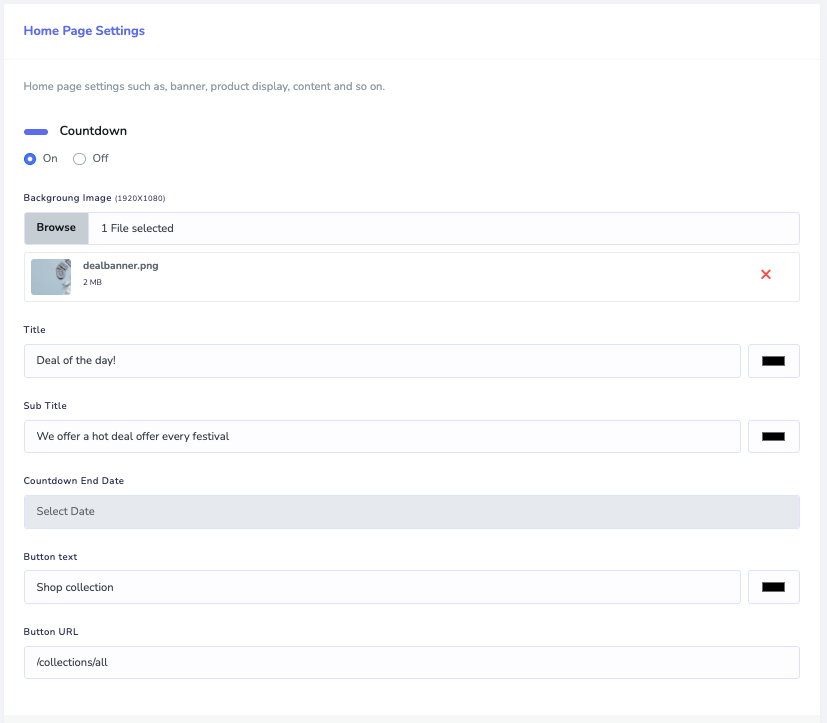
Countdown
The Countdown section allows you to display a countdown timer, often used for promotions or events.
- Background image dimensions: 1920 x 1080 pixels.
- You can customize the Title, Sub-title, select the target date, and set the Button text and URL.
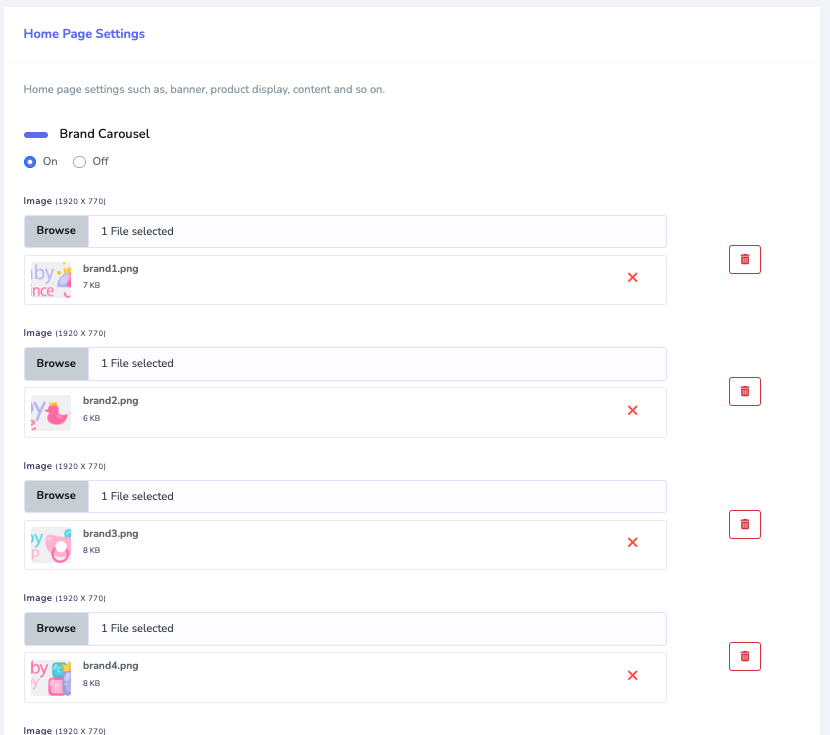
Brand Carousel
This section appears towards the bottom of your website and displays a rotating carousel of small images.
- This is ideal for showcasing sponsors, partners, brands you carry, or a portfolio of work.
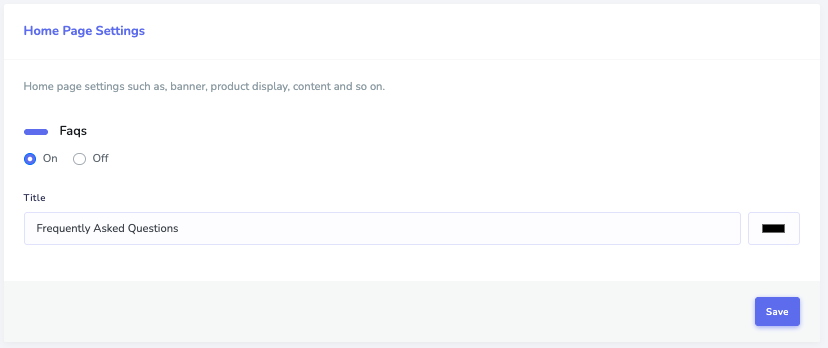
FAQs
You can update the title of the Frequently Asked Questions section on your website. To manage the FAQ content, select the “FAQs” option from the left-side menu.
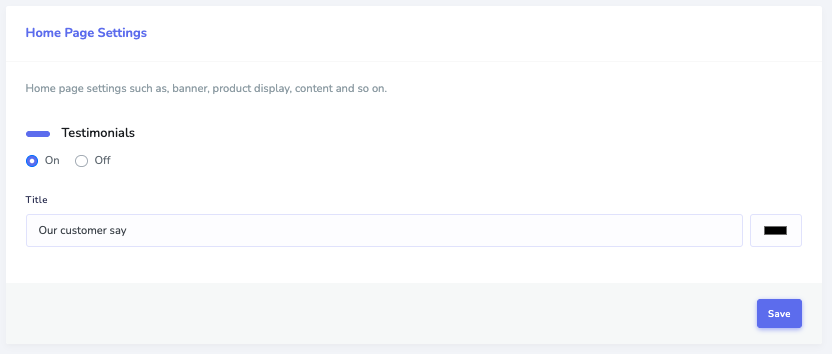
Testimonials
This section is populated with the testimonials you’ve added in the Testimonials area of your store’s backend.
- You can change the title of this section.
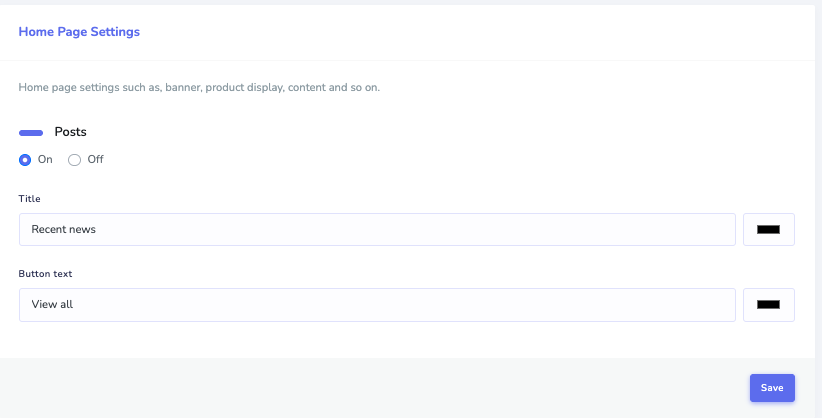
Posts
Each website includes a built-in blog that you can manage from the Blog section in the left-side menu.
- You can change the title of this section, the color of the text, and the button text and color.
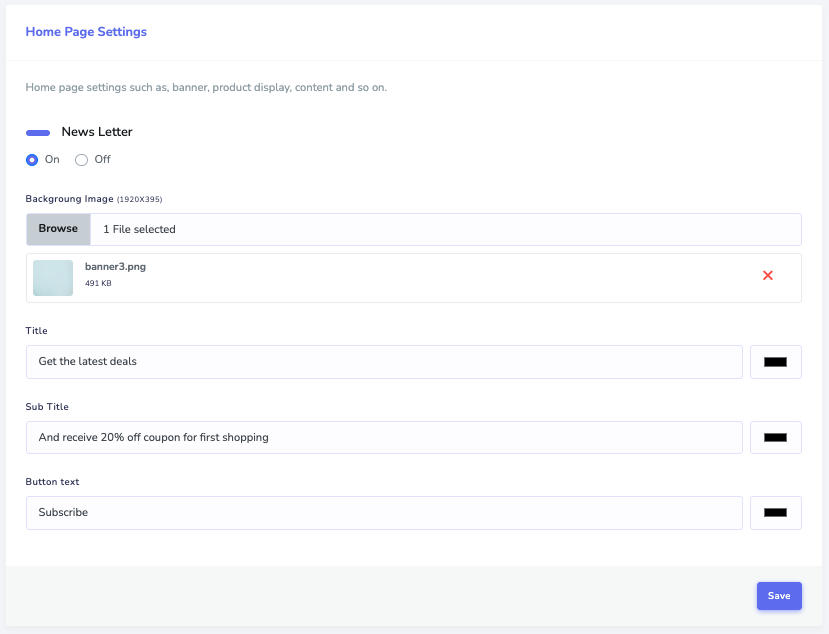
Newsletter
Use the newsletter section at the bottom of your website to collect email addresses from visitors.
- Background image dimensions: 1920 x 395 pixels.
- You can update the title, sub-title, and the button text and text colors.
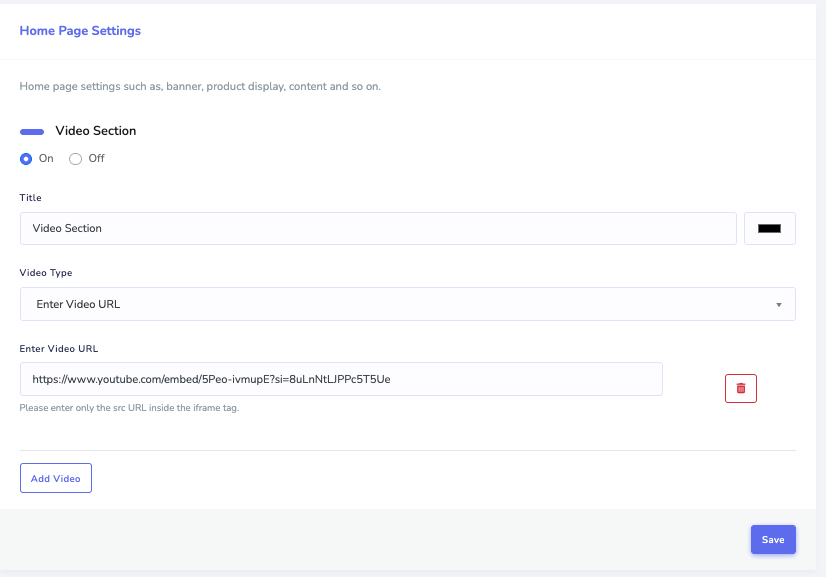
Video Section
You can embed a YouTube video in this section by pasting the video URL in the “Enter Video URL” field. You also have the option to upload a video file directly.
- You can update the title of this area and change the color of the text.
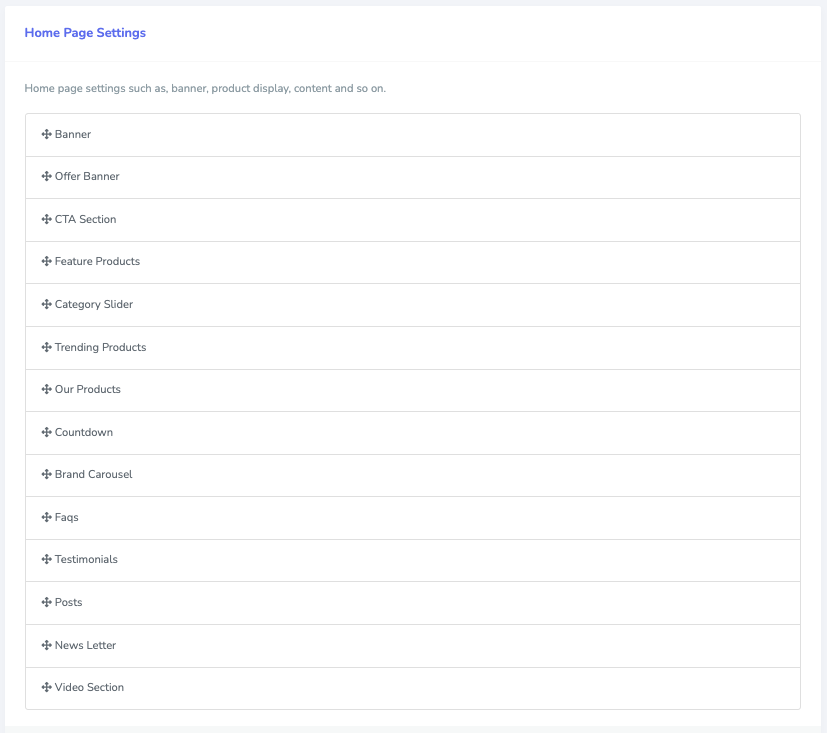
Arrange
On the Arrange page, you can easily customize the order in which the different sections of your home page appear. Simply drag and drop the sections to your desired arrangement.
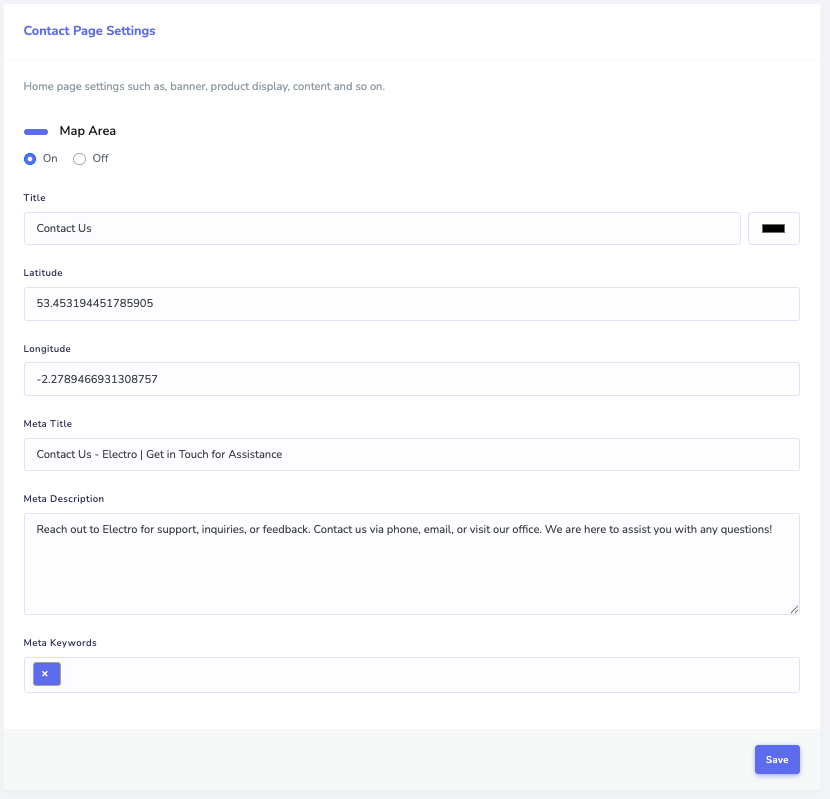
Contact Page
- Map Area:
- Enter a title for the map area.
- Provide the latitude and longitude coordinates to place a marker on the map. You can find this information on Google Maps.
- Be sure to enter the Meta Title, Meta Description, and Meta Keywords for your contact page to optimize it for search engines.
- Contact Form:
- Enter a title for the contact form area.
- Change the color of the text within the contact form.
- Contact Info:
- Update the messaging in your “Contact Us” section.
- Display relevant contact information for your business.
Product Page
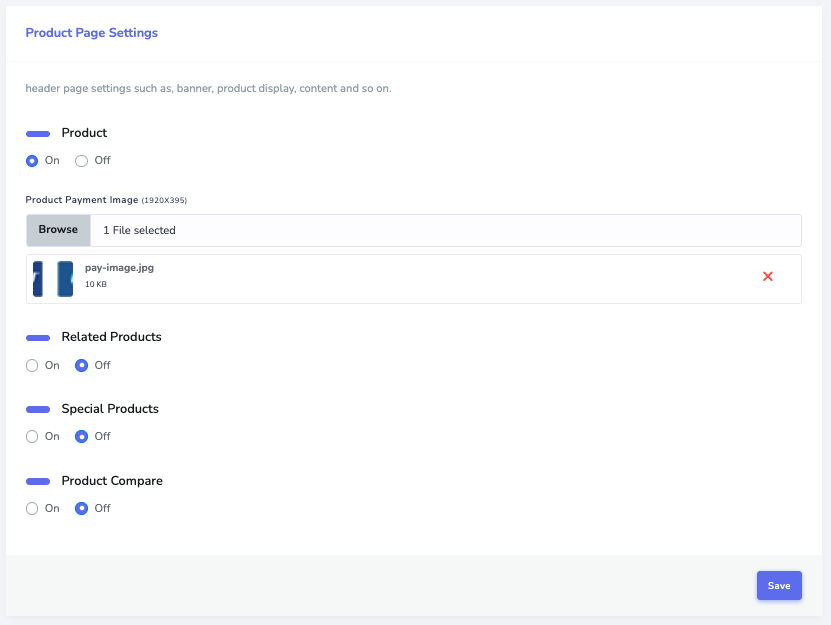
On the Product Page settings, you can turn off specific widgets that appear on individual product detail pages:
- Hide Related Products
- Hide Special Products
- Hide Product Compare
Grid Page
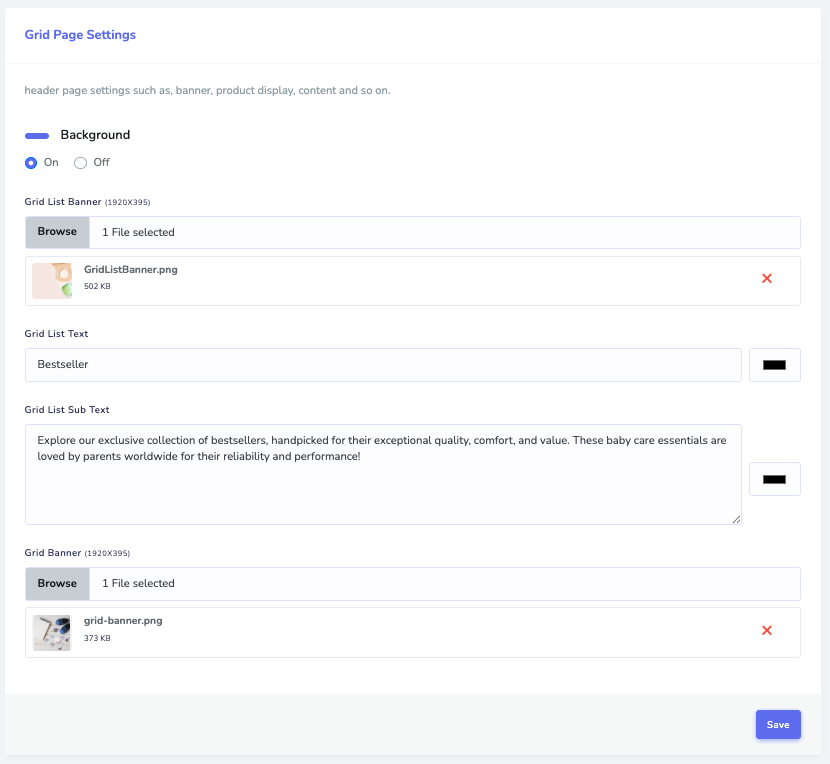
The Grid Page is where your products are displayed when a visitor selects a category.
- Top Banner Image: Change the banner image at the top of the page (recommended size: 1920 x 395 px).
- Left Side Image: Add an image to appear on the left side of the page (recommended size: 1920 x 395 px).
Breadcrumb
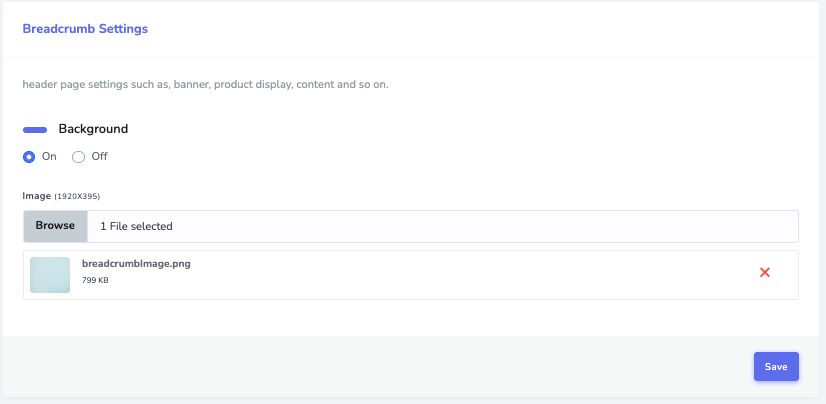
You can change the background image that appears on individual pages you create.
General Settings
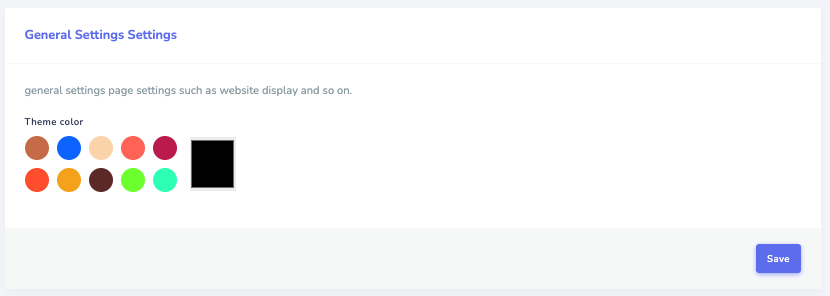
In this section, you can change the overall theme color of your website. The buttons, text, and accent colors will update to the color you select.
Adding a Product
Products > All Products
To add a new product to your store:
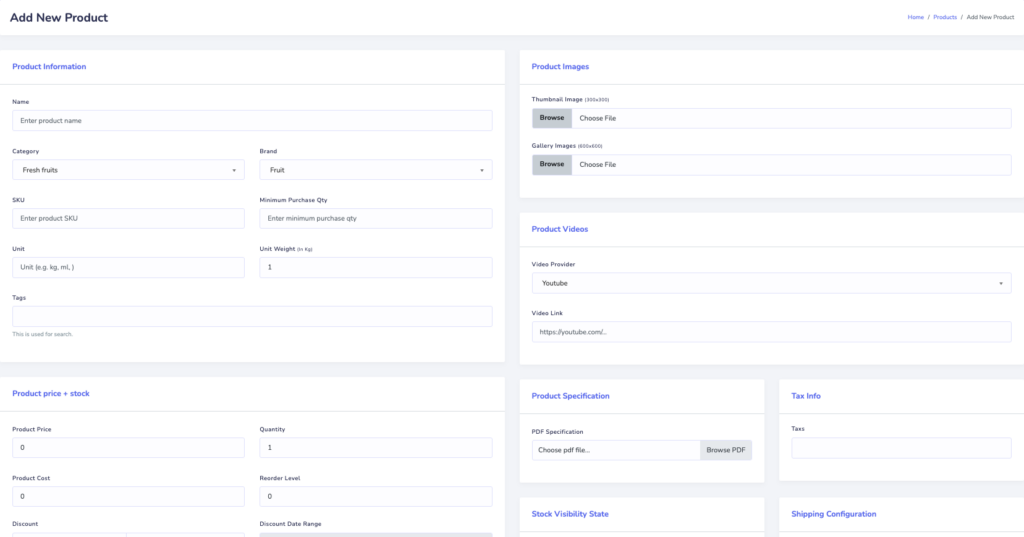
You will now be presented with a form to fill out the information about your product. Please proceed to enter the necessary details for your new product.
Navigate to Products in the left-side menu.
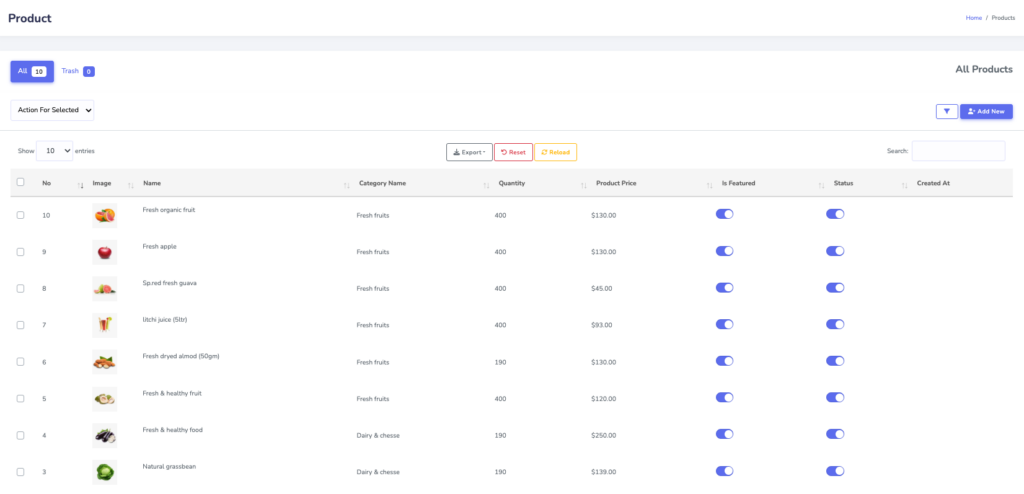
Click on the Add New Product button.